Painting
Check out our painting & drywall renovation process video!
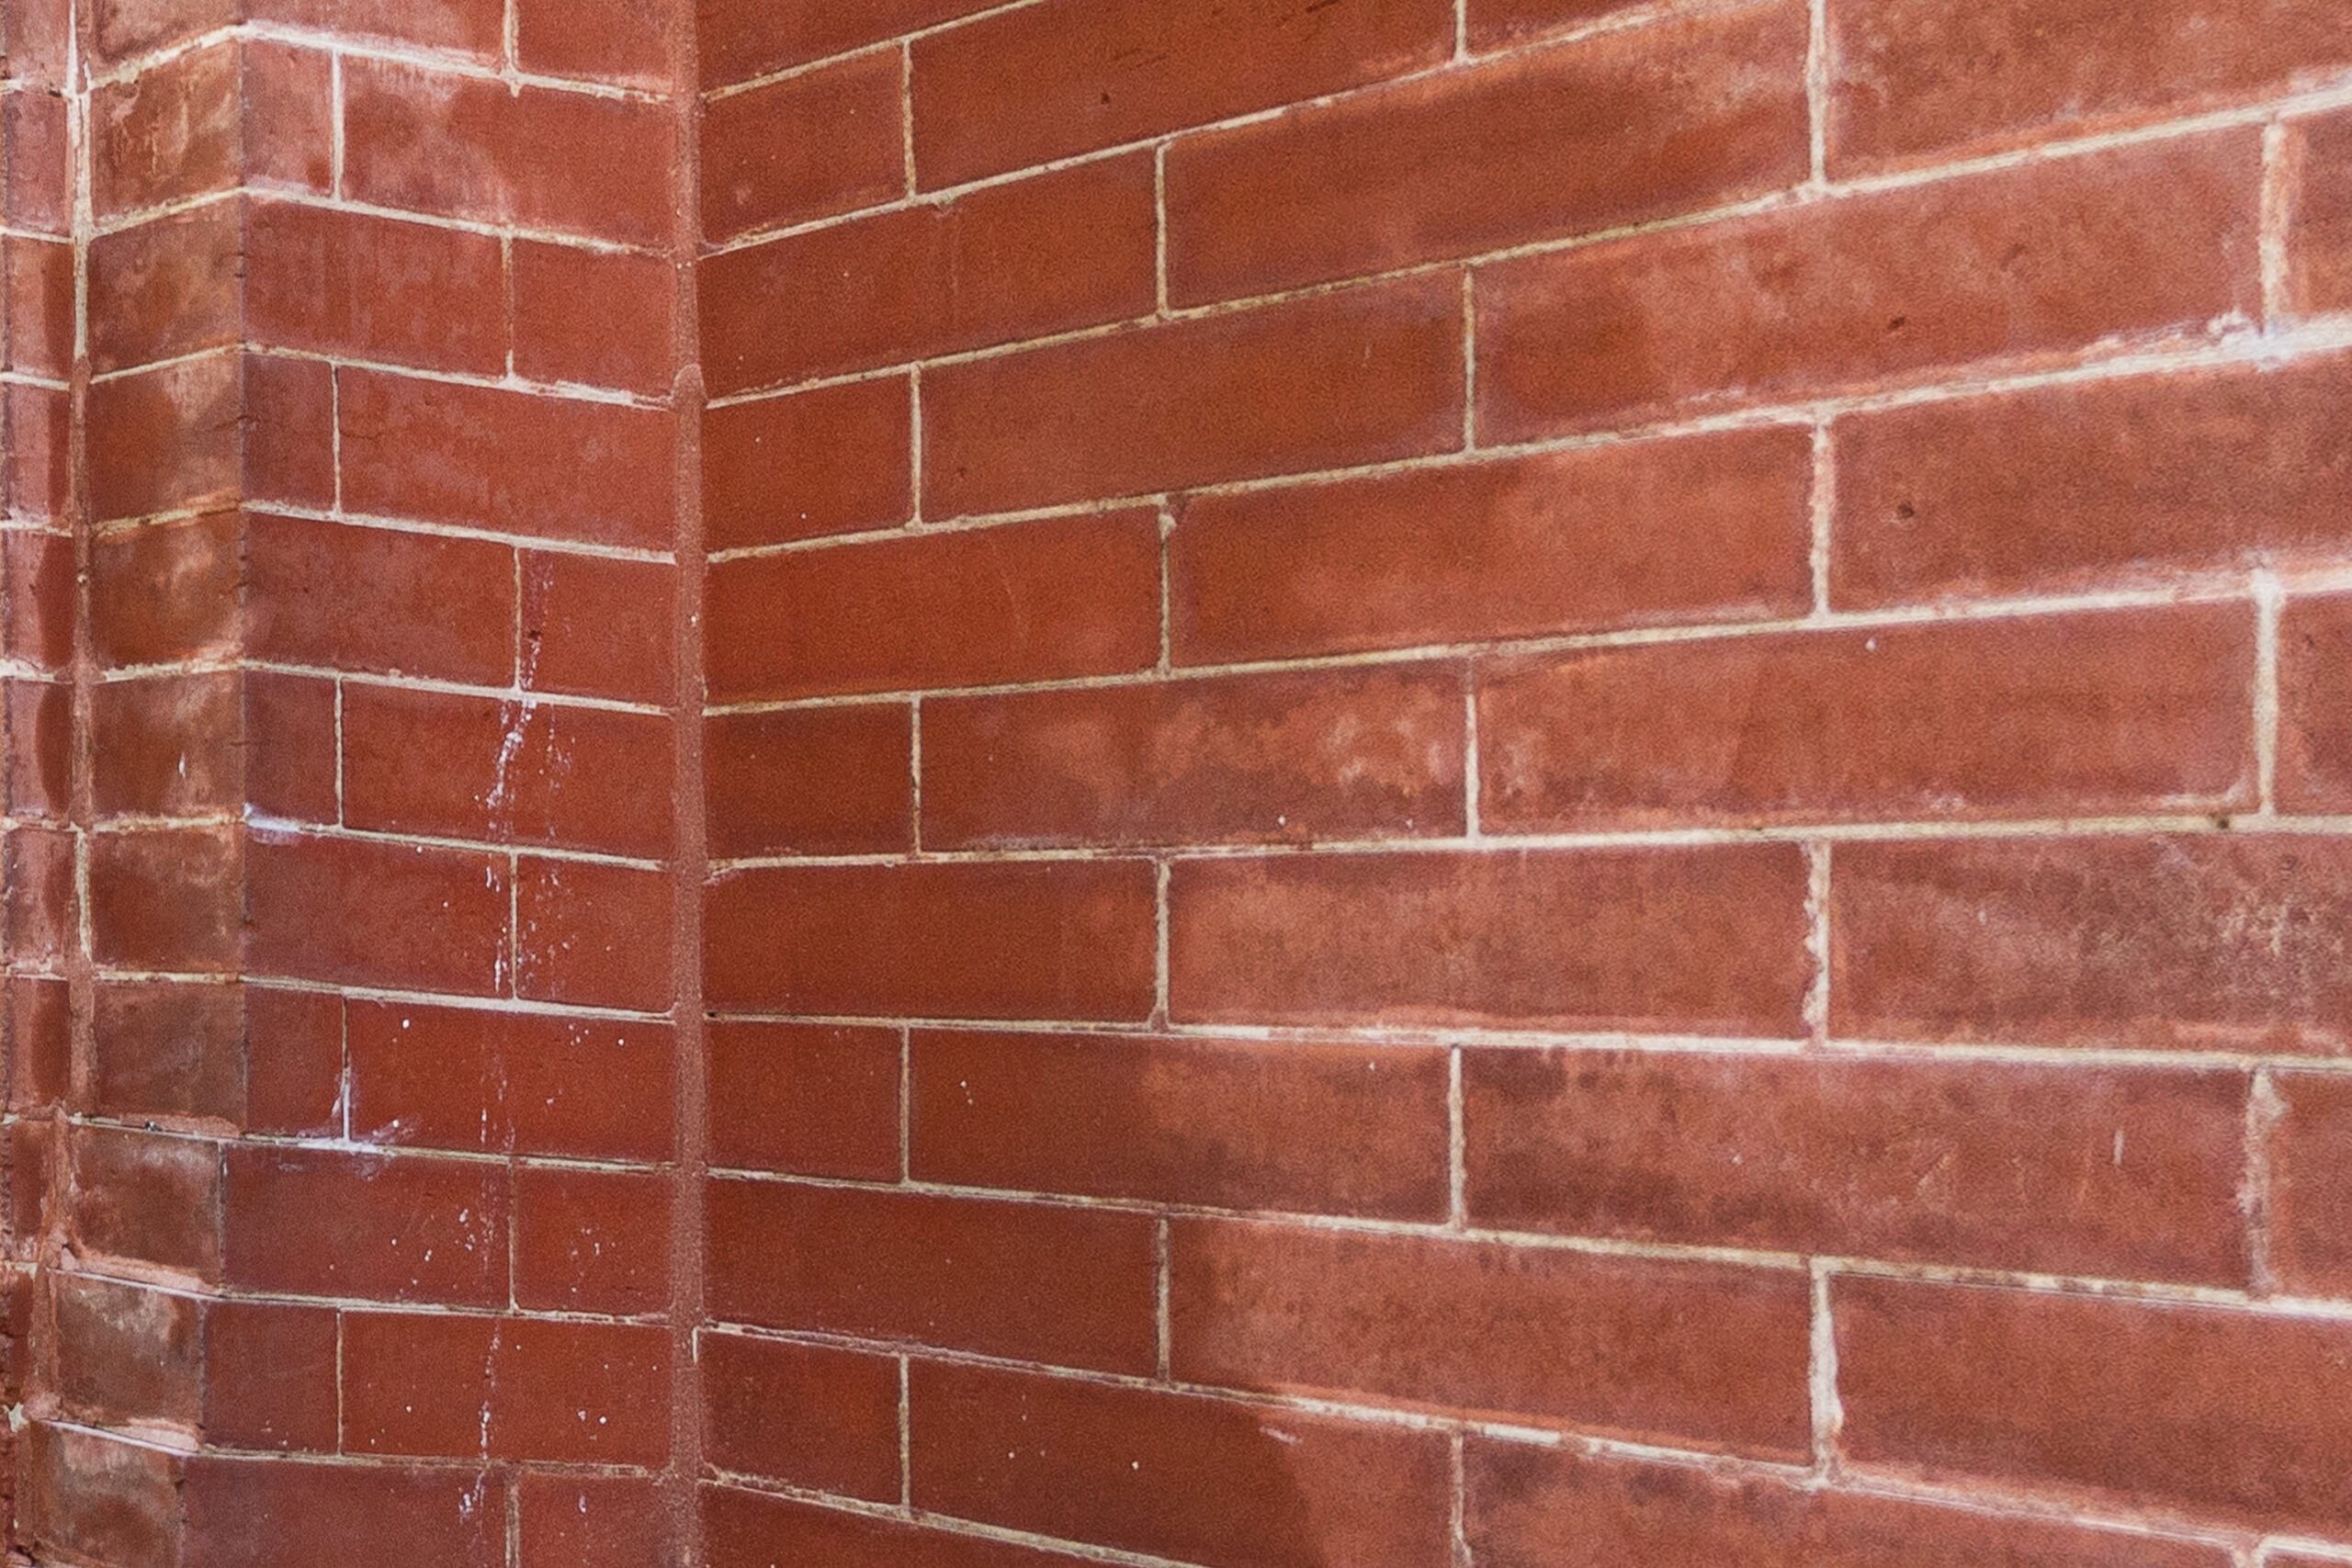
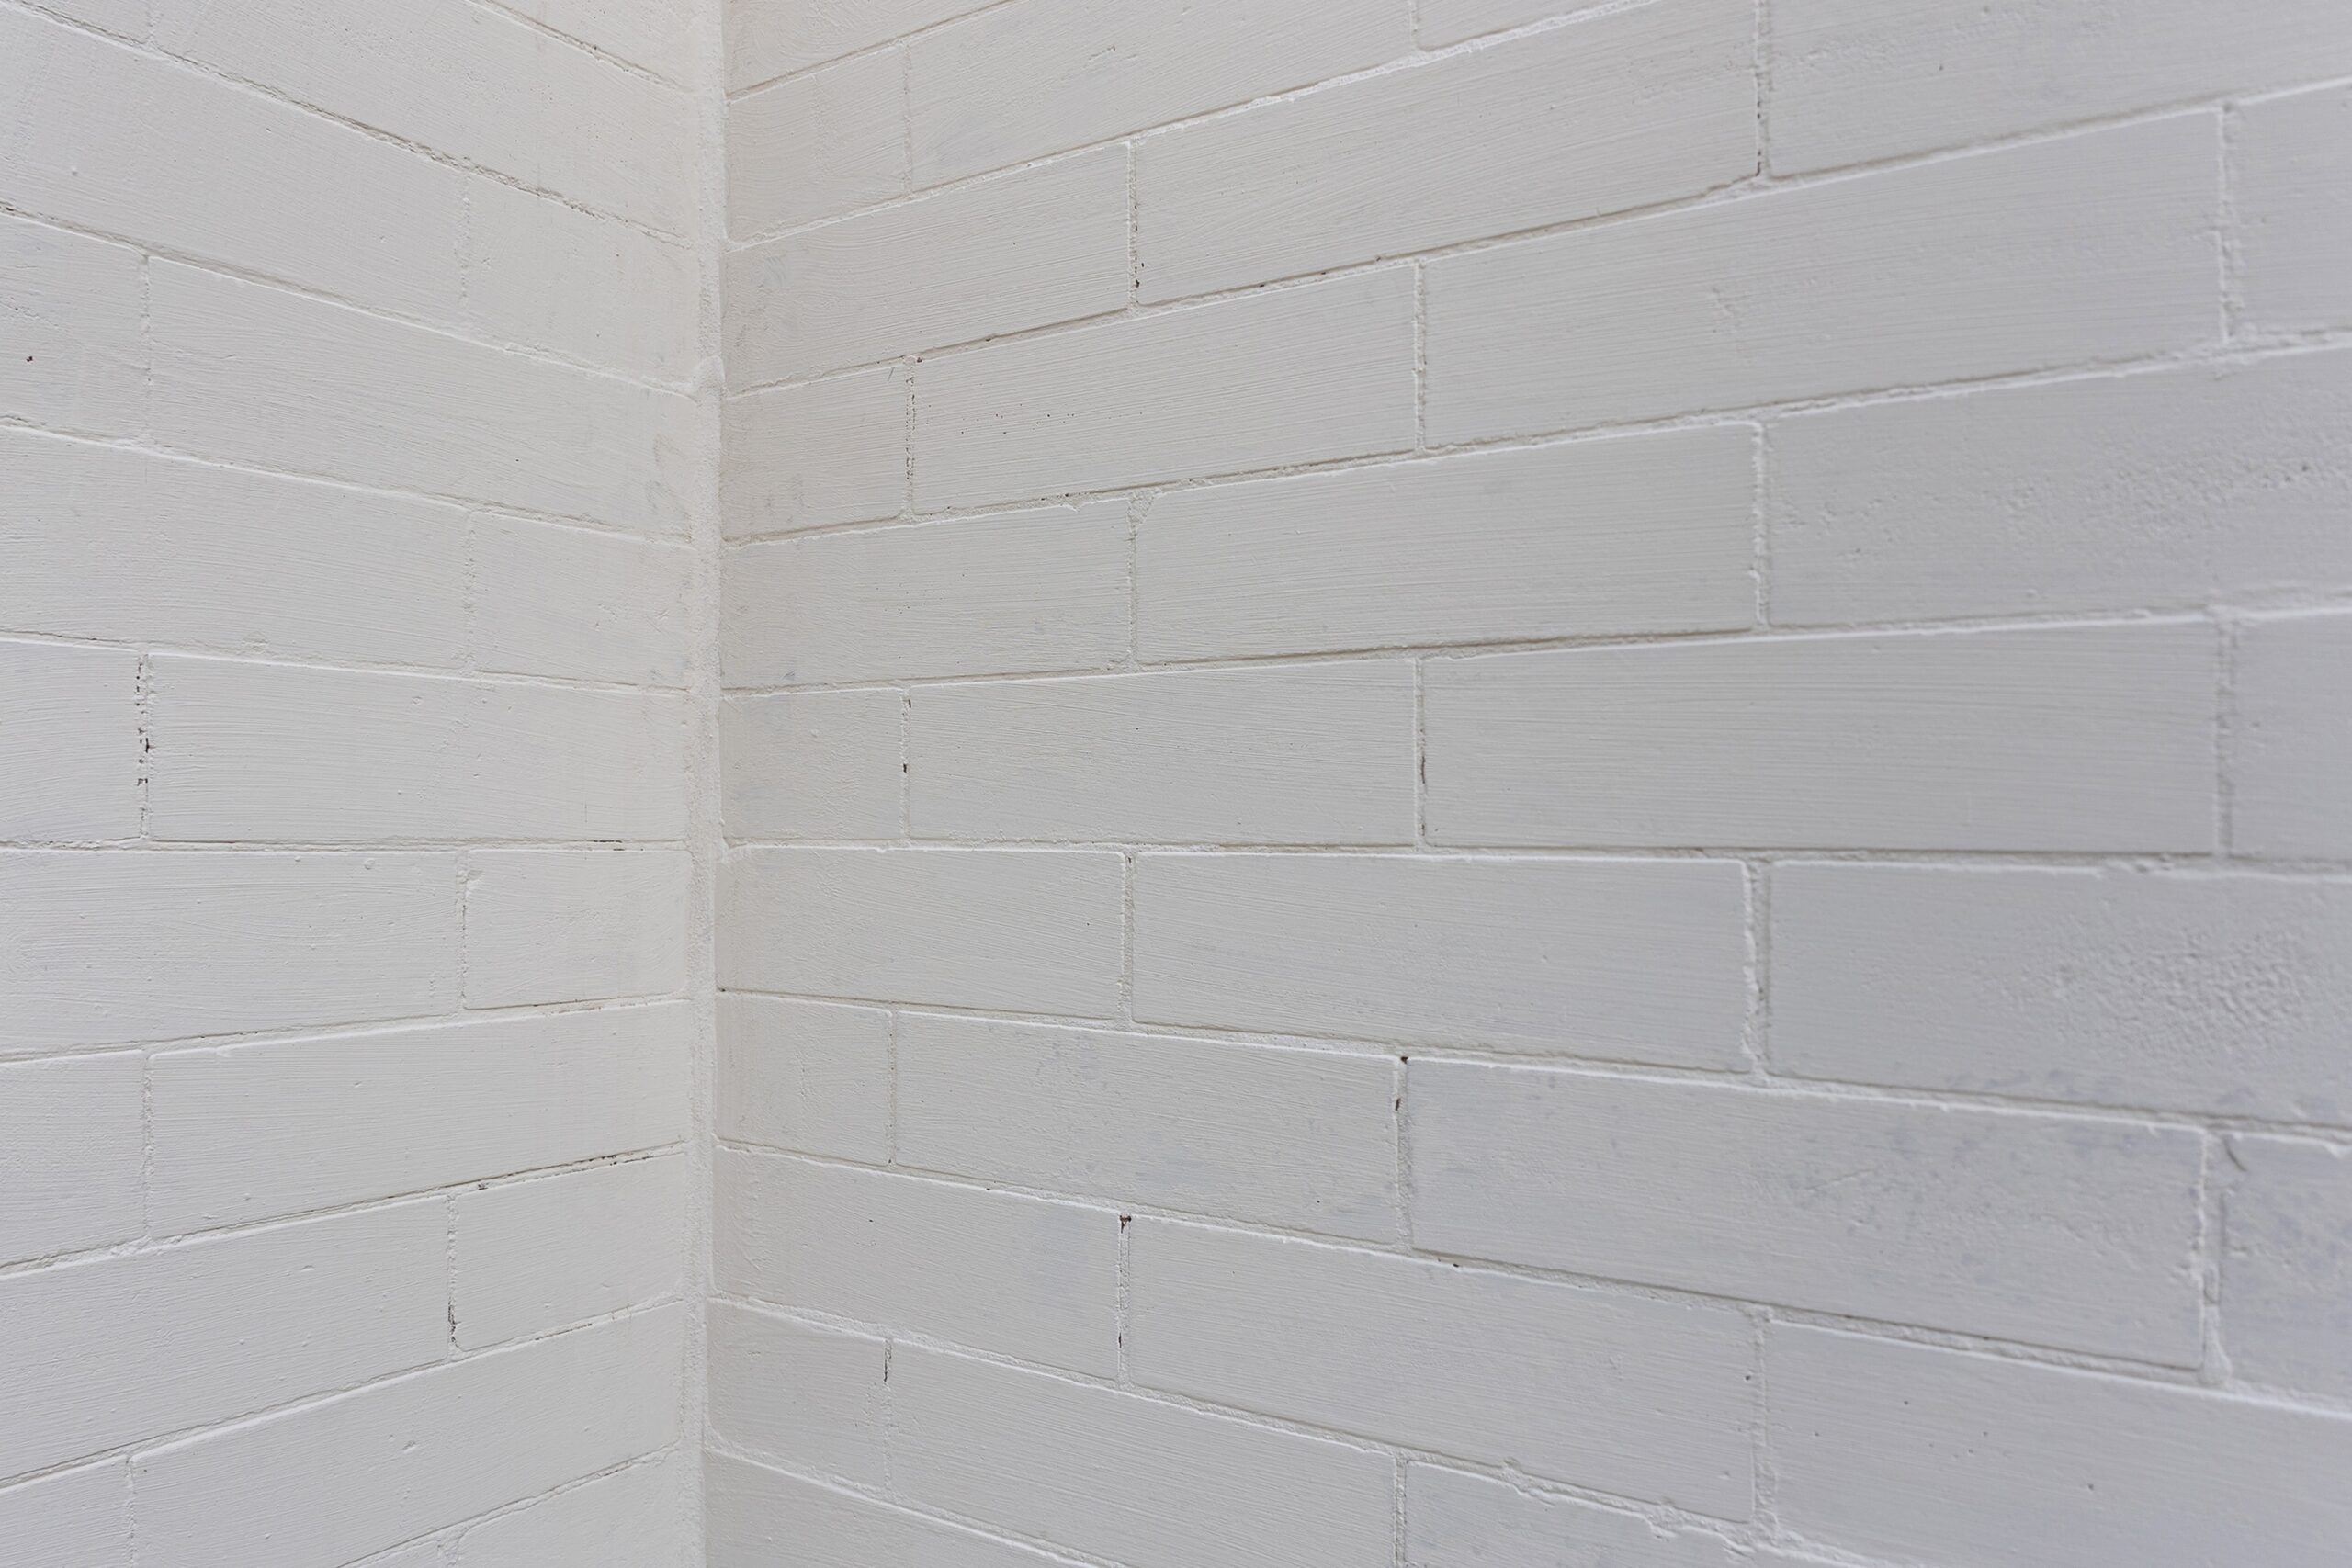
Whole House Painting
Questions? Answers.
When it comes to painting jobs, choosing the right colors is always one of the hardest parts, but you don’t have to do it alone. Our specialized team is always happy to help you choose which colors will work best for your home.
Plus, different types of paint and finish on the walls or ceiling can reflect the look of the whole space, so each room might need a different type of finish coat, and we can help guide and recommend the appropriate finish for the room.
Once you reach out to us, we make plans to come out to the job site and start the job. Before we start, we move and cover all furniture and then cover the floors to protect them from dust and paint.
Then, we patch the wall, fill holes and cracks, and make repairs. After that, we smooth the wall to prep it for the paint coat. Finally, when the job is done, we clean up the space and leave your home looking freshly painted and brand new.
Drywall Repair & Installation
Questions? Answers.
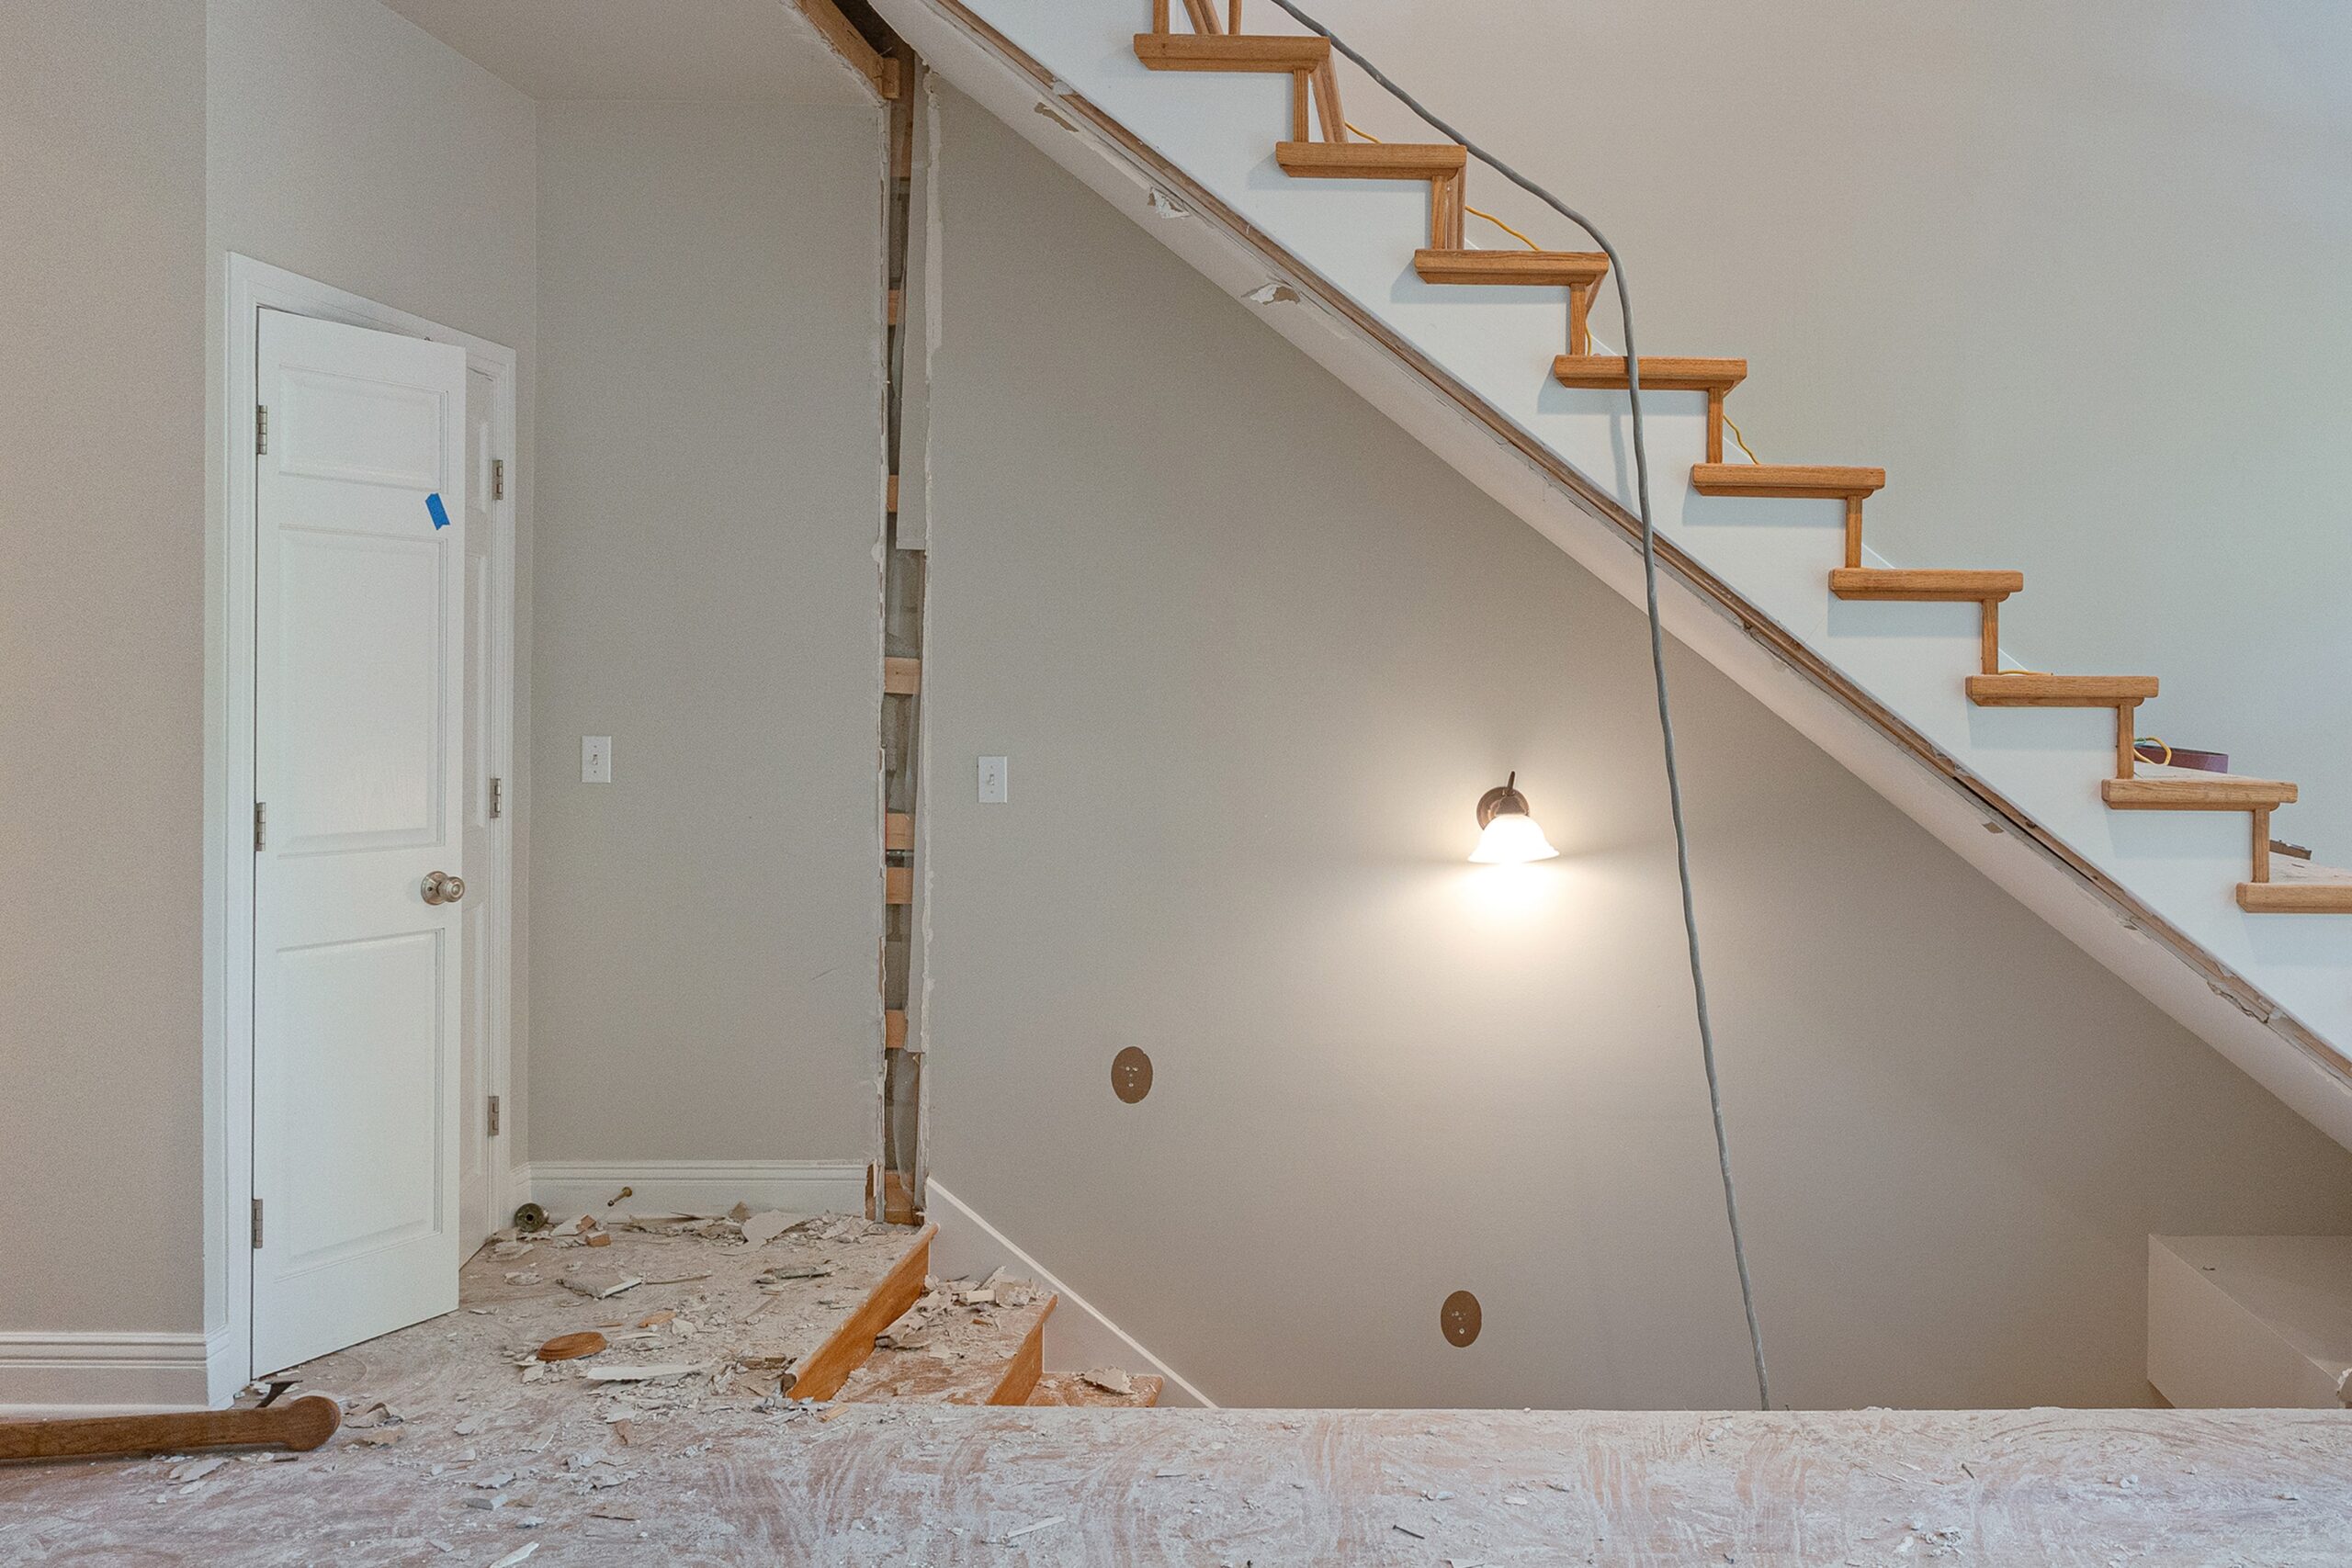
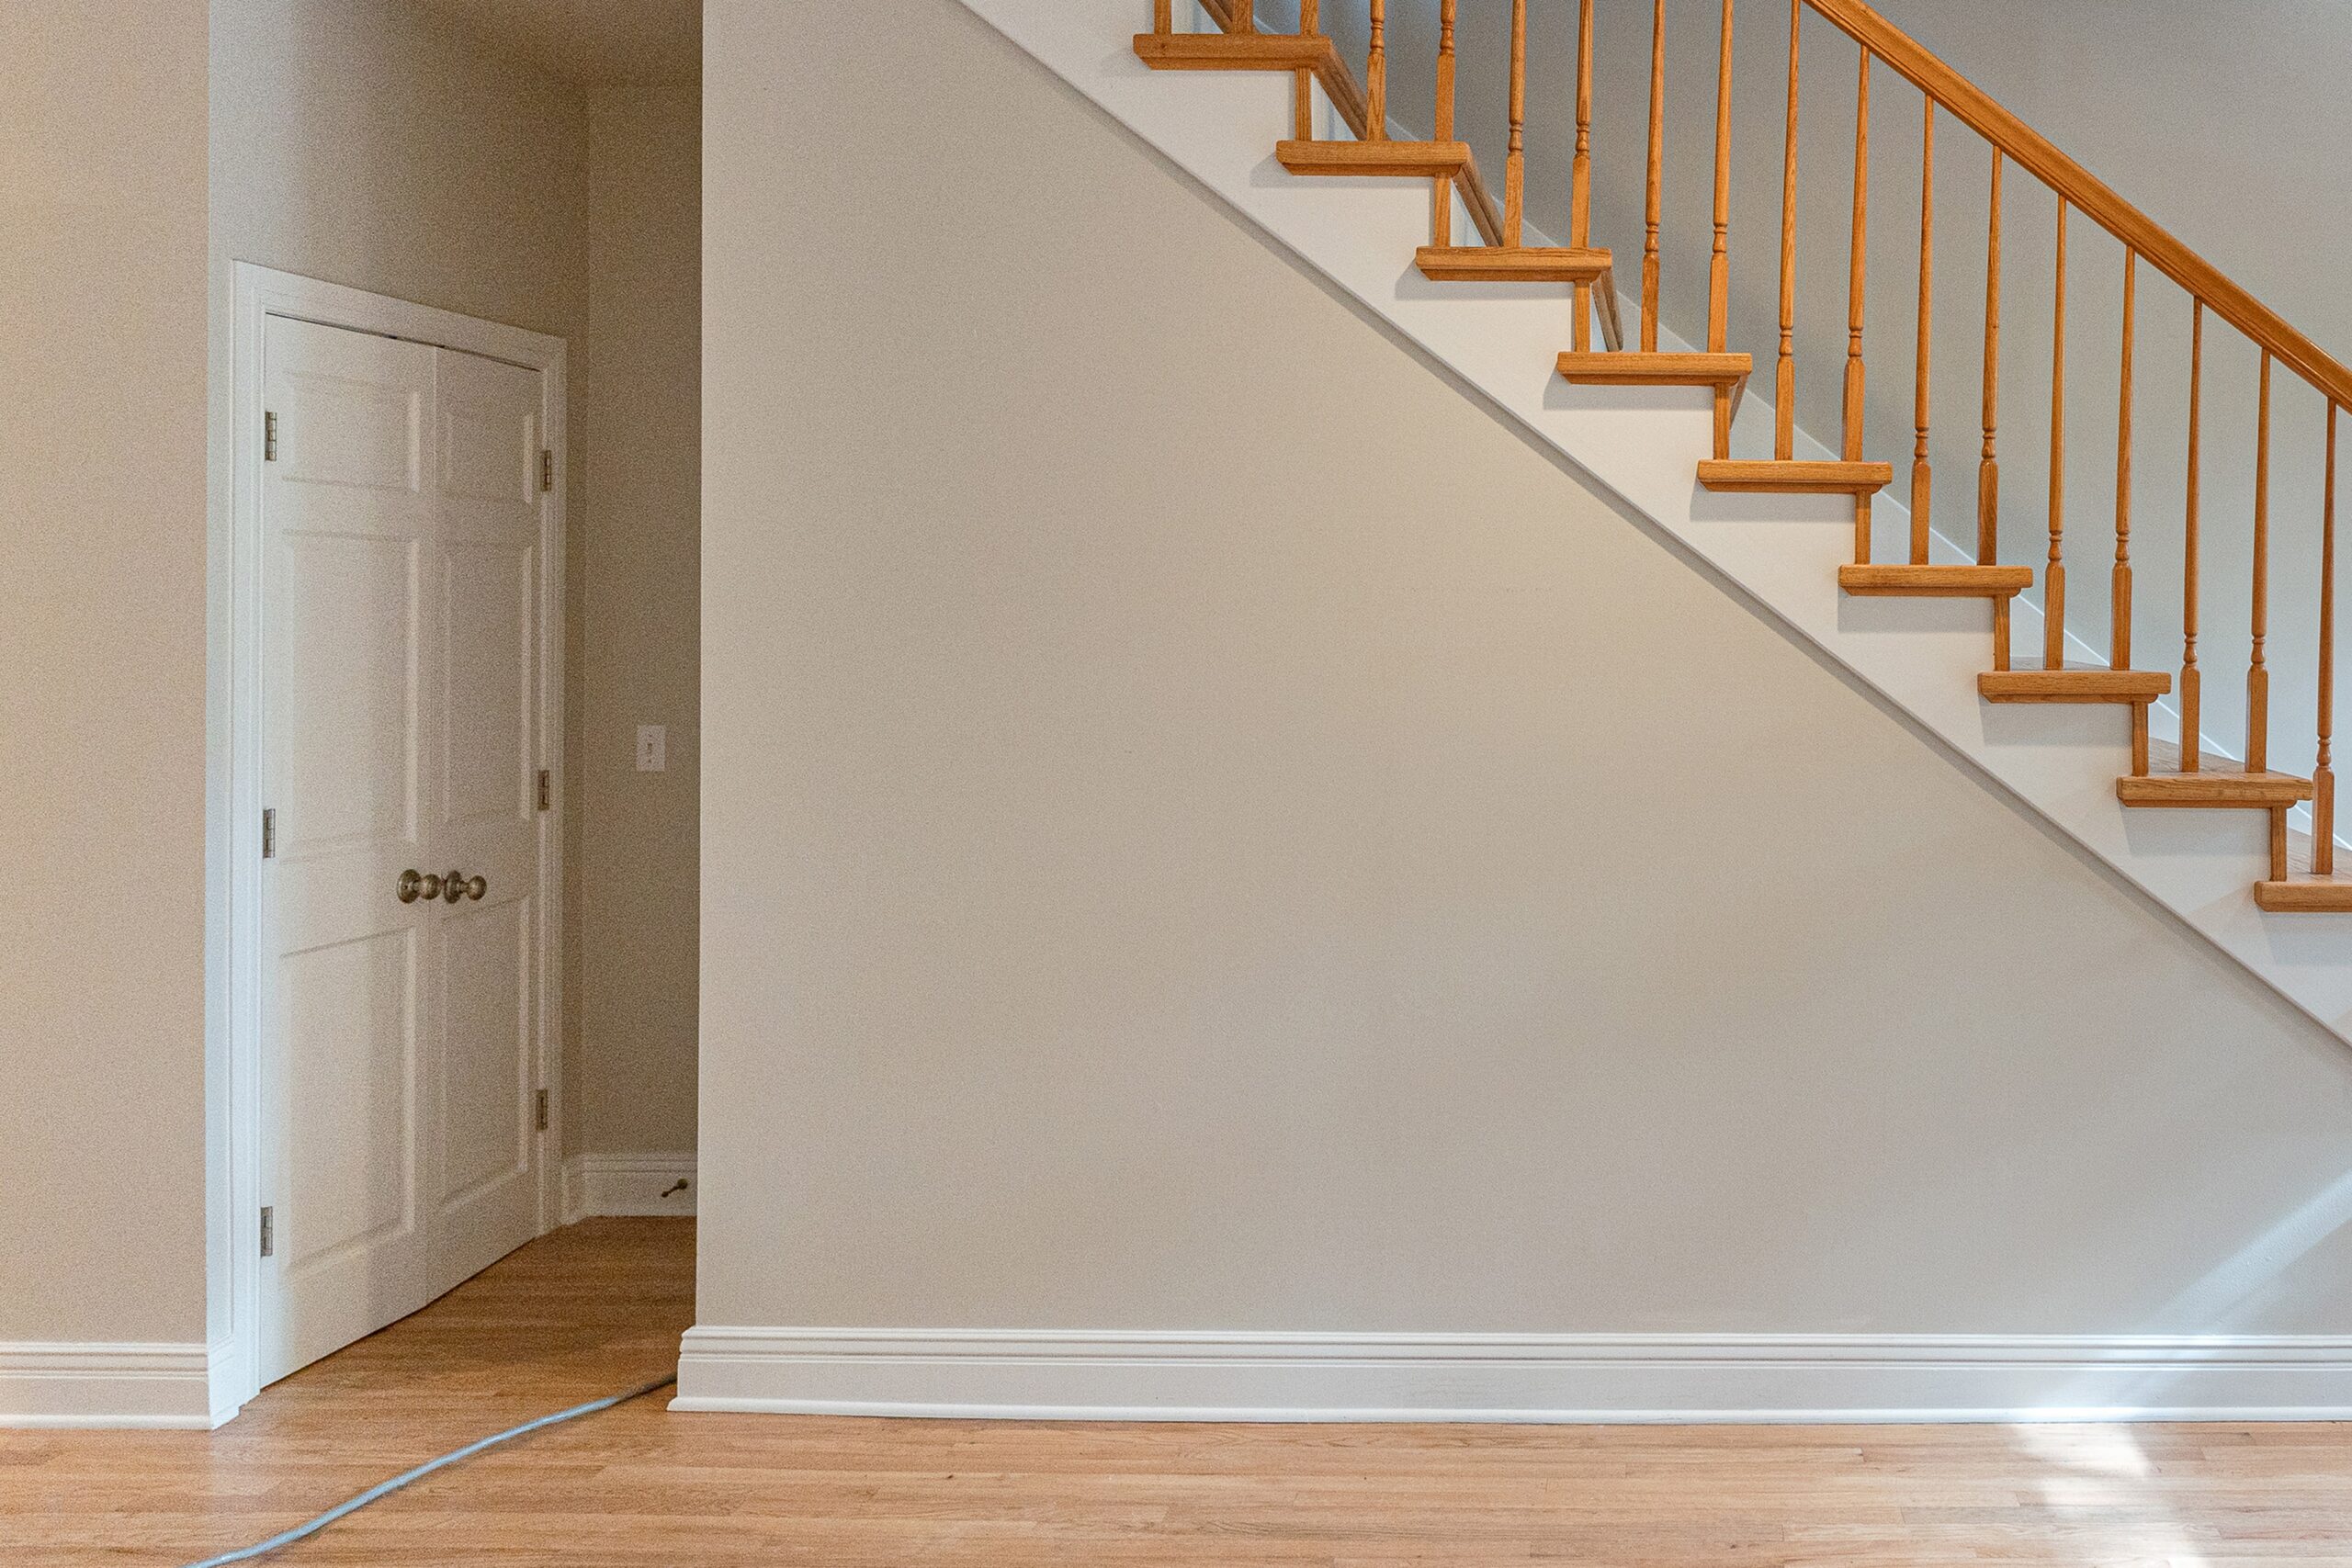
Over time, drywall usually succumbs to daily wear and tear. And there may come a time when you want more walls, especially if you’re renovating your space. Holes in drywall are not only a visual problem: they can also lead to pests, moisture, and heat getting into your home, which can cause more problems down the line.
Regardless of your situation, our experienced patching and drywall professionals can restore your drywall and install new panels for walls beyond repair – taking the burden and weight off of you.
When it comes to drywall, sometimes the new patching on the drywall will be visible if the drywall is old or has been previously painted multiple times. That’s something to keep in mind when making decisions about new walls.
Secondly, if your walls are severely torn open and in terrible condition – especially from water damage – you might consider tearing them out and installing new drywall instead of just repairing them. If there’s water damage, it’s possible that you may have mold. Depending on the severity of the damage, it’s sometimes better to replace the drywall instead of just trying to repair it.
After you give us a call and tell us about the job, we make a trip out to the job site. To actually start the work, we cover everything in the room from furniture to floors to prevent any damage to your personal belongings.
After that, we install or repair the drywall and prep it for painting by smoothing and applying a primer. Then, we apply one to three coats of paint depending on the condition and specifications of the job. Once completed, we make sure that everything is up to your standards.
Wallpaper Removal & Installation
Questions? Answers.
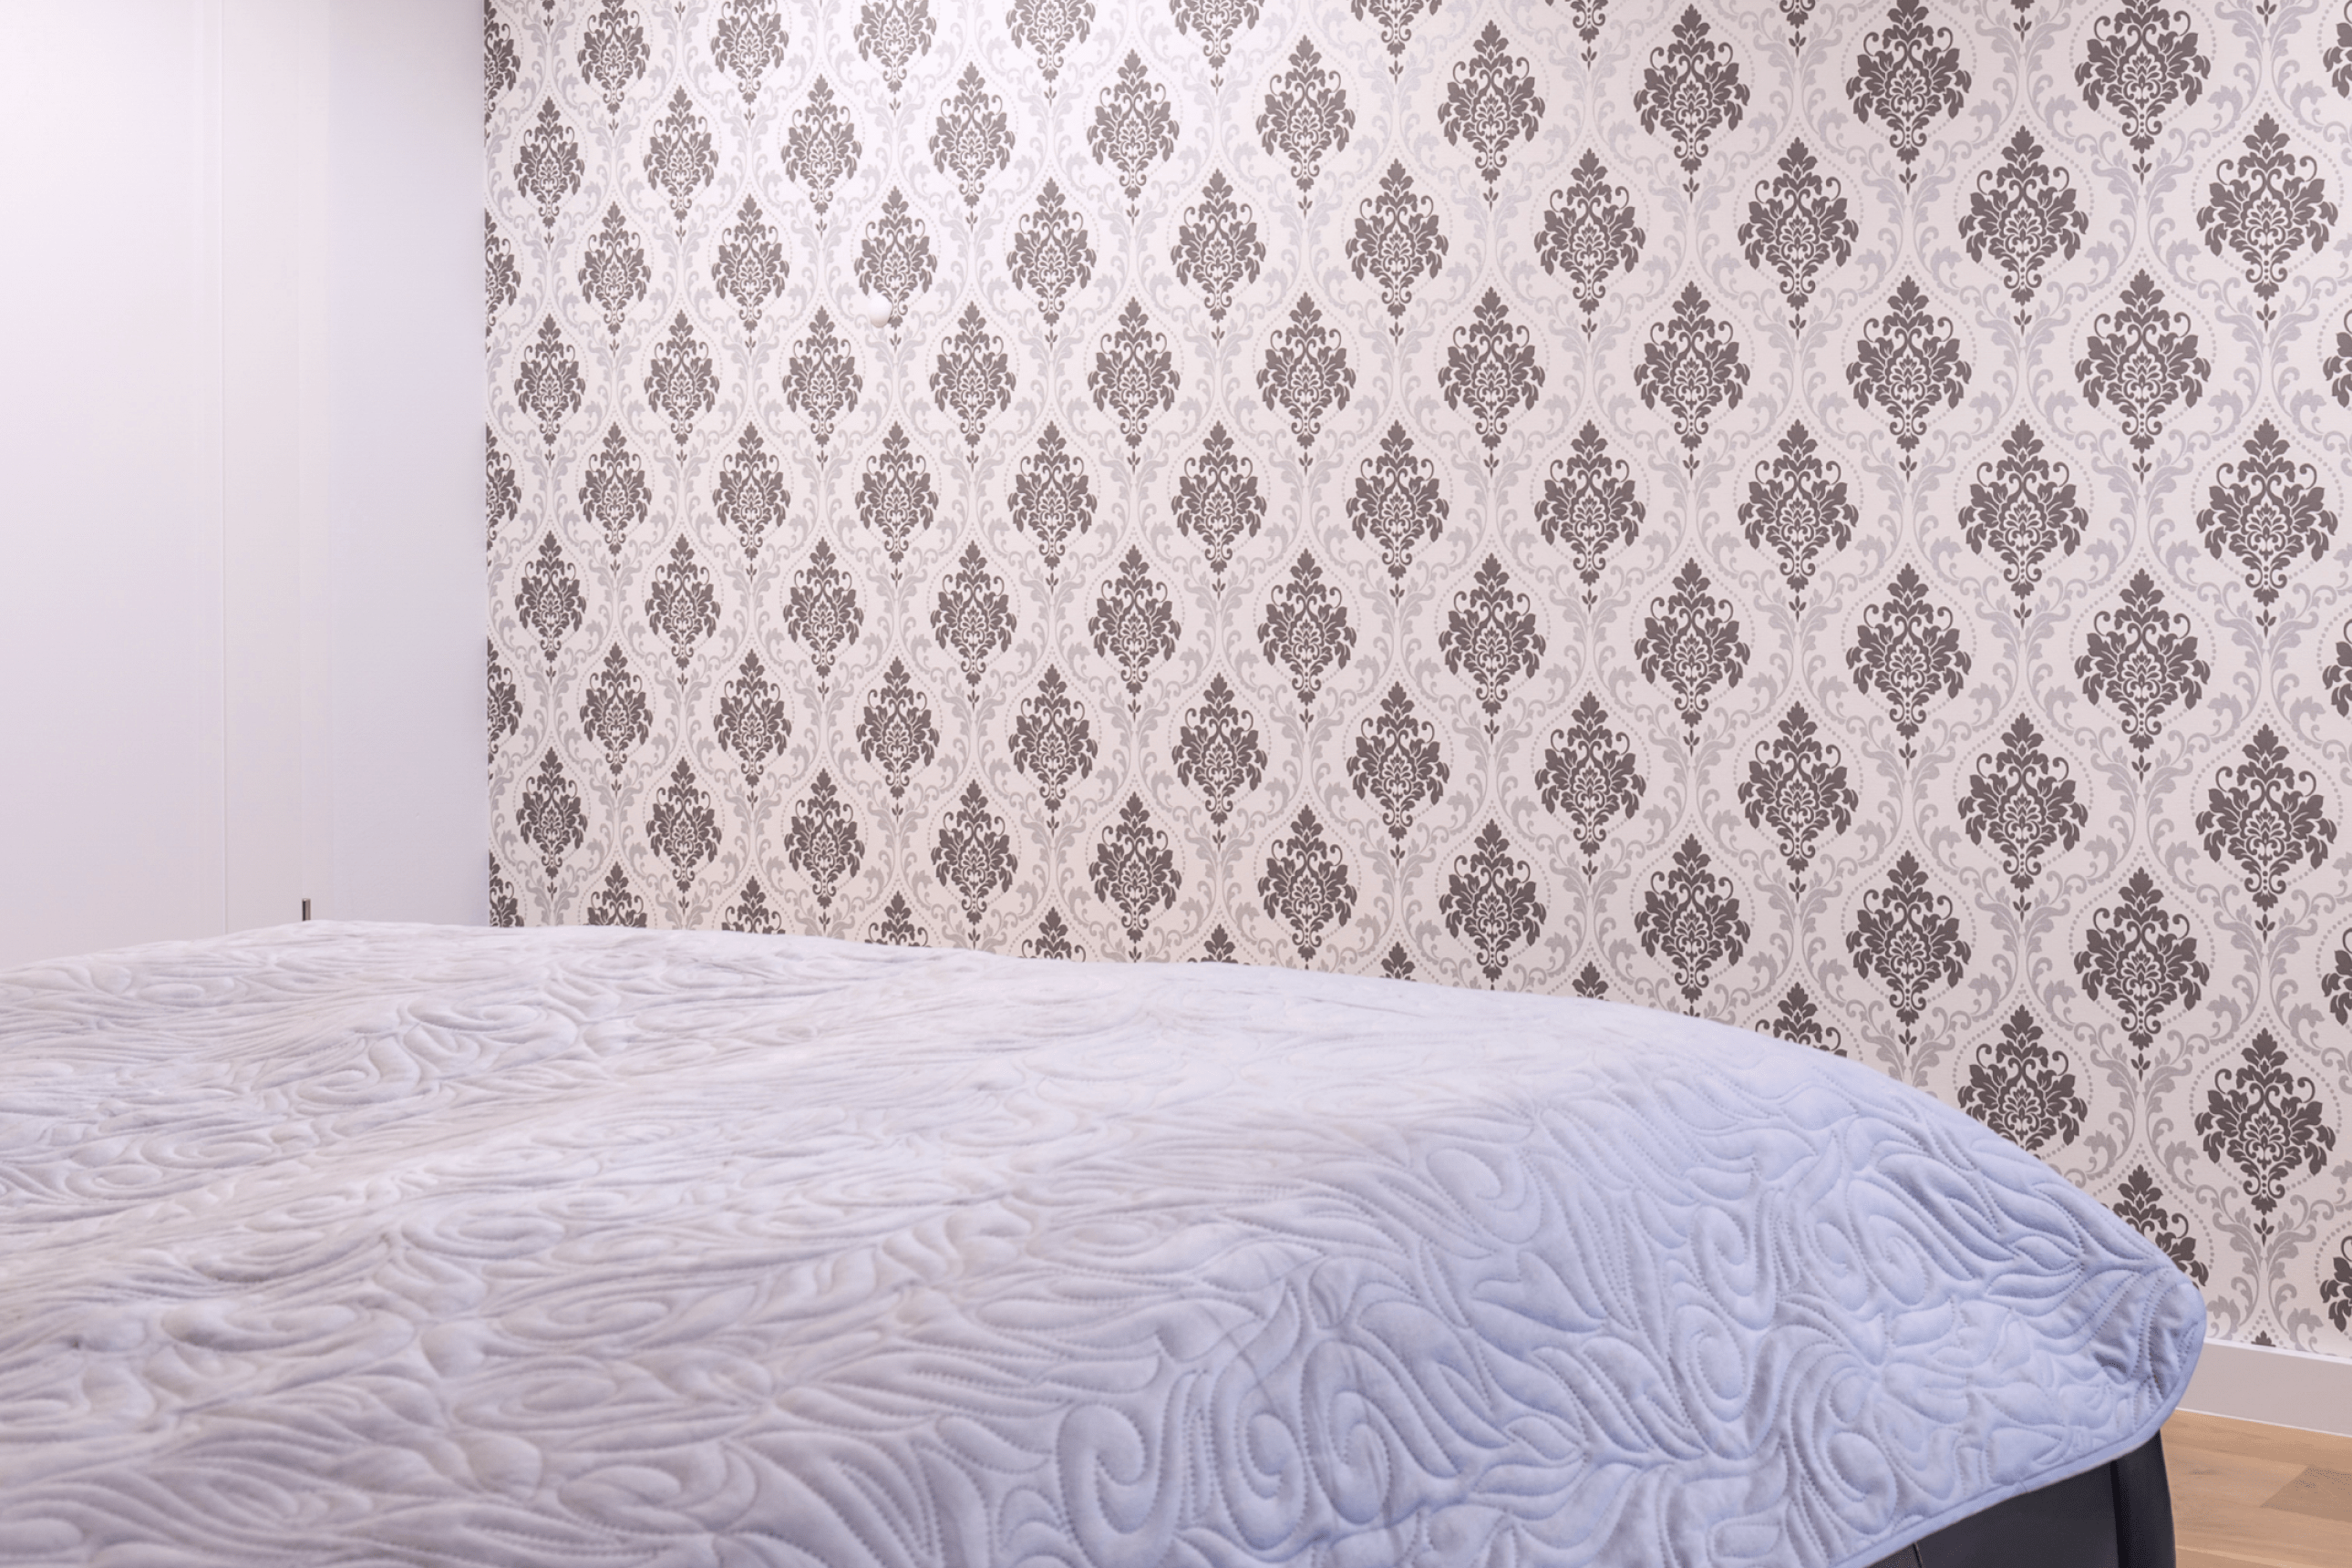
It’s important to consider the fact that wallpaper glue can be pretty difficult to work with. Wallpaper glue that was not removed properly can show through the new paint or wallpaper layer and cause air bubbles. It’s important to make sure the job is done by experienced and professional hands to avoid these flaws in your new wall.
The job of wallpaper removal has many steps. It starts with a lot of peeling, scraping, and sometimes the use of chemicals. It’s important to remove all pieces of wallpaper and glue residue before priming and painting or applying new wallpaper. With the walls completely bare, we wash it all with water to prepare for the next step. Once the walls have dried, we sand them down to prep them for the first prime coating.
To make sure the walls are back to the original, flat surface, we may need to apply a skim coat before the second prime coat. Skimming the wall helps to smooth out textured walls or repair damage done to the wall from the wallpaper removal.
Once the walls have been well-prepped, we can either paint the wall or apply a new wallpaper of your choice. The application of a new wallpaper requires precision and care; You need to accurately measure the wall and apply the glue and new wallpaper carefully. Mistakes can be easily seen through the new wallpaper, so the job is best done by an experienced team that will make sure your new walls are as neat as possible.
Popcorn Ceiling Removal & Application
Questions? Answers.
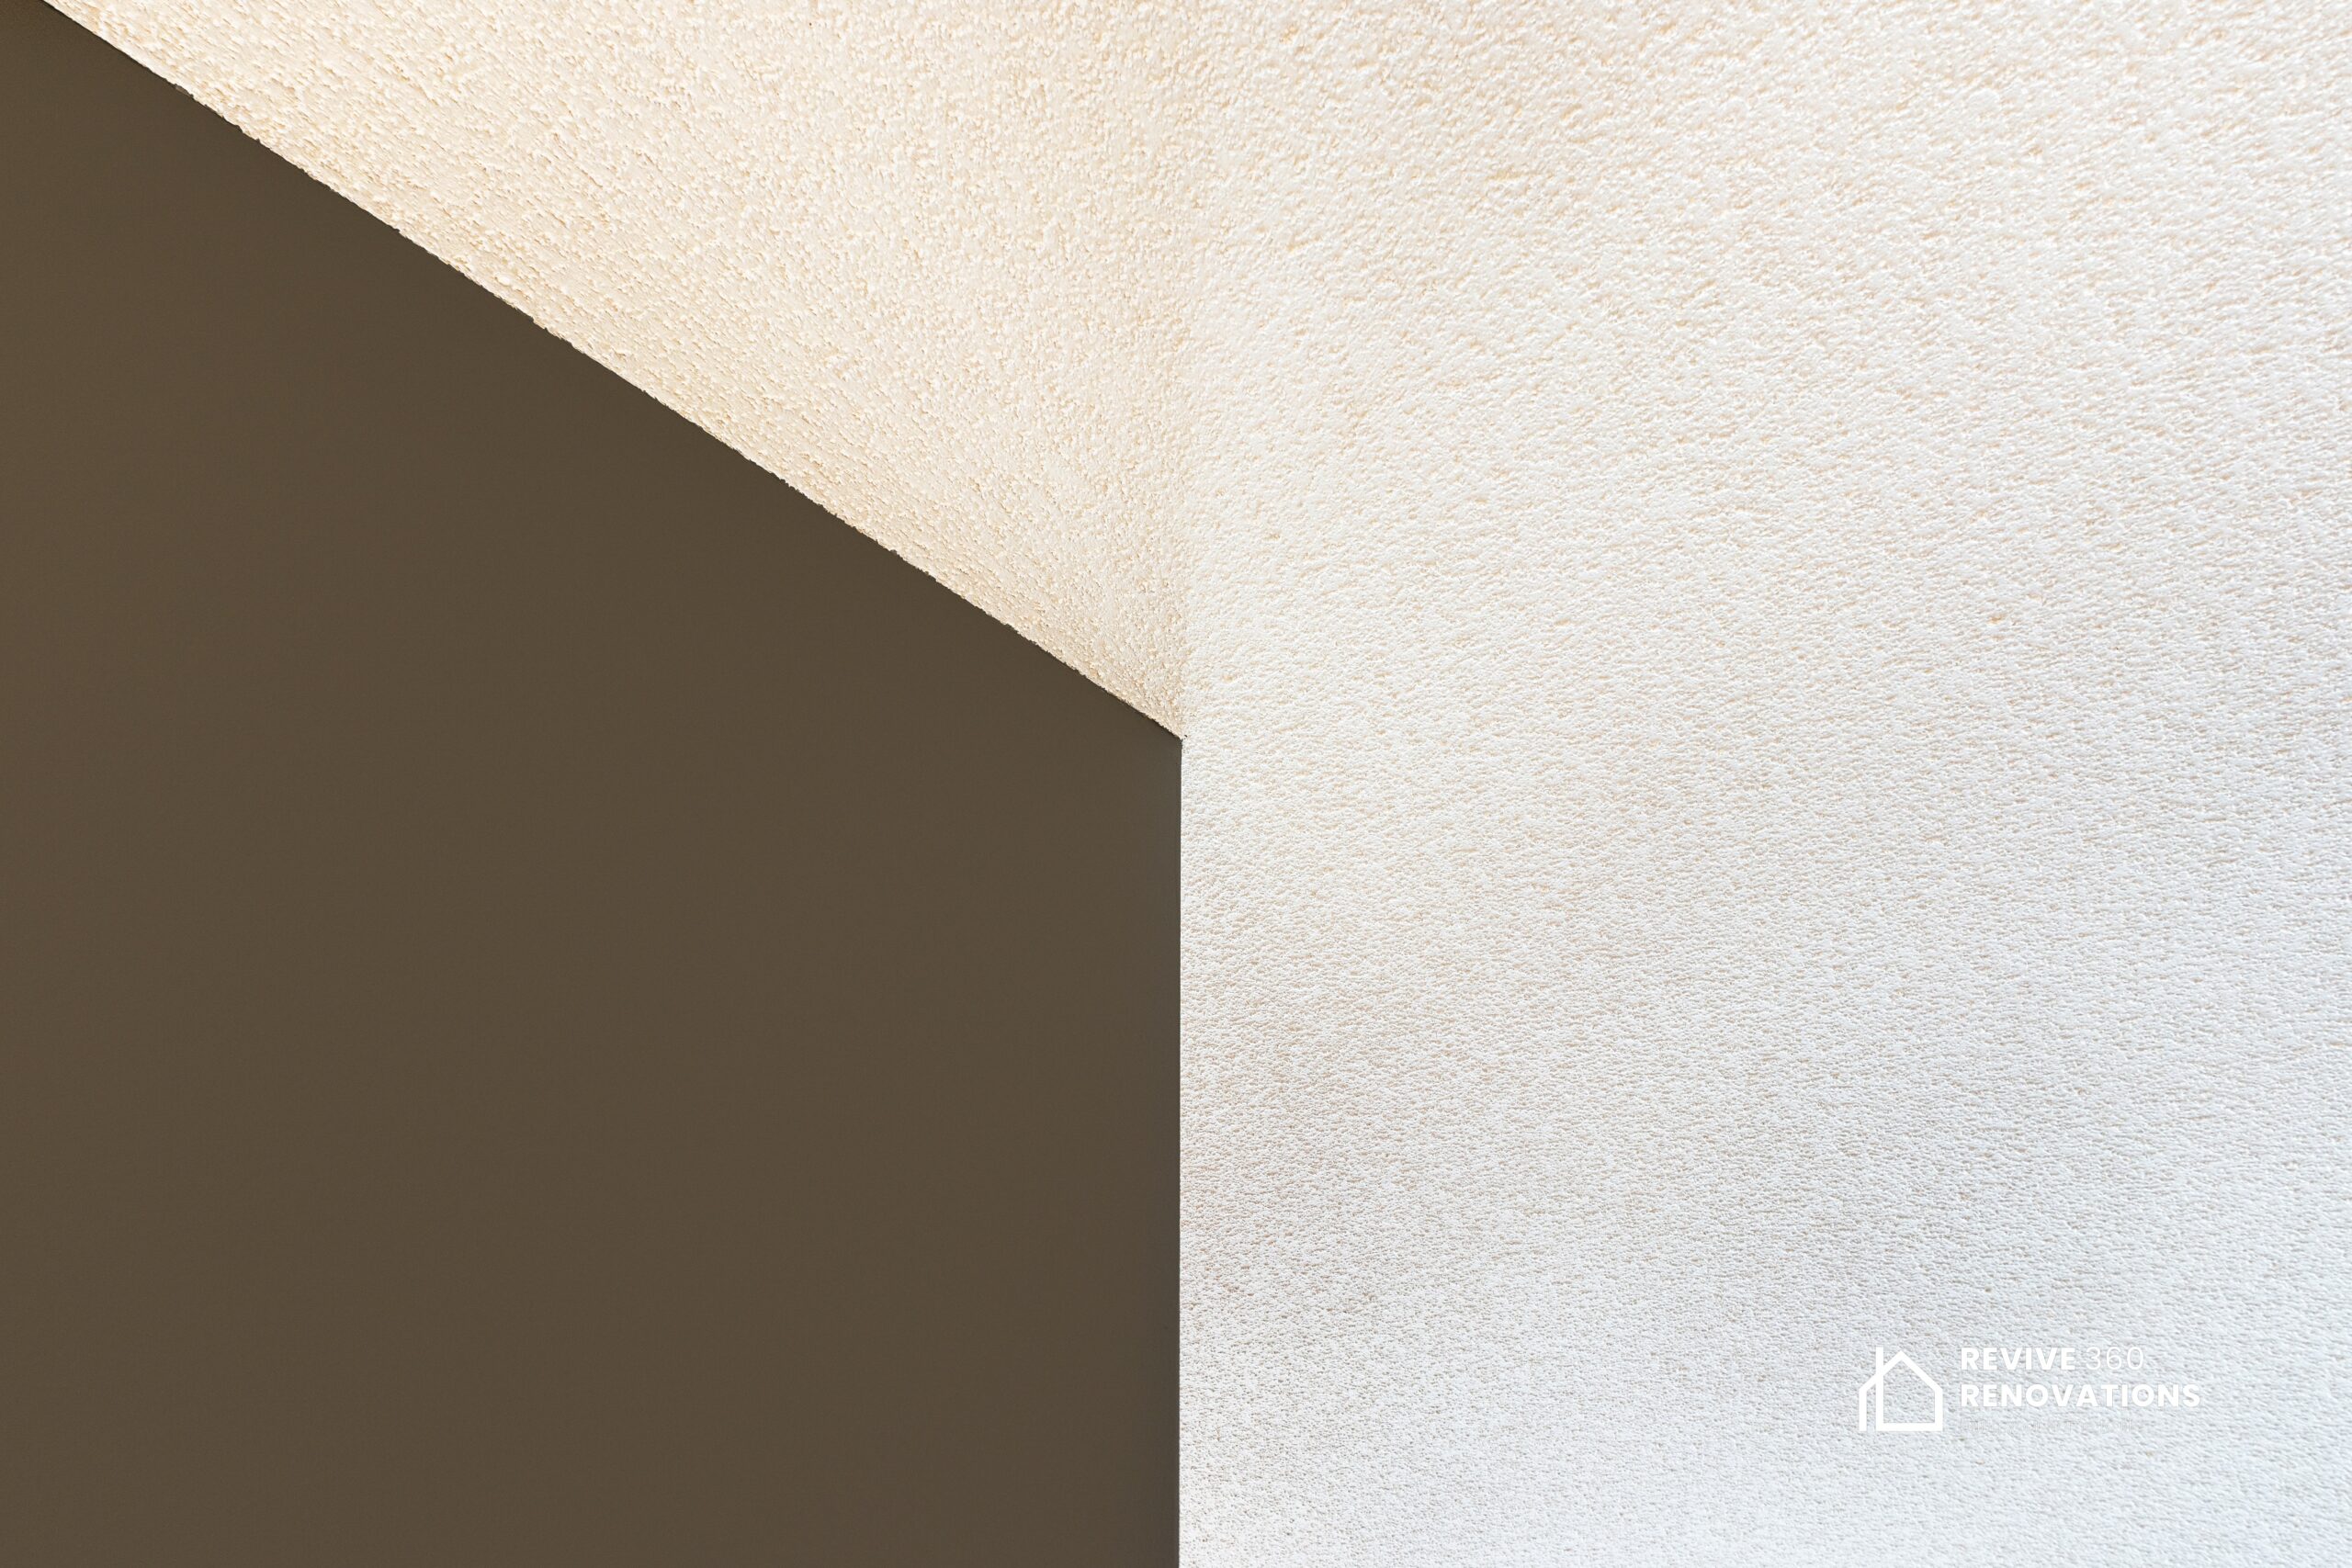
Since popcorn ceilings involve a lot of dust and filth, it’s important to remember that these jobs can be pretty dirty. However, we always take precautions to make sure that we are keeping everything as neat as possible.
It’s also important to note that we have to paint the walls that are attached to the ceiling because certain parts of the wall need touching up after the job is completed. There’s no way around this part of the job, but it always looks as good as new when we’re done.
Most popcorn ceiling jobs take around 4-5 days for any room or size.
When we get out to the job site, the first thing that we do is apply a containment barrier for the room, doors, floors, carpet, and all surrounding furniture. This acts as a protective layer.
After that, we begin scraping. There are many different techniques for scraping, and the technique depends on the texture of the ceiling. Sometimes we have to use water, and sometimes we simply scrape it down.
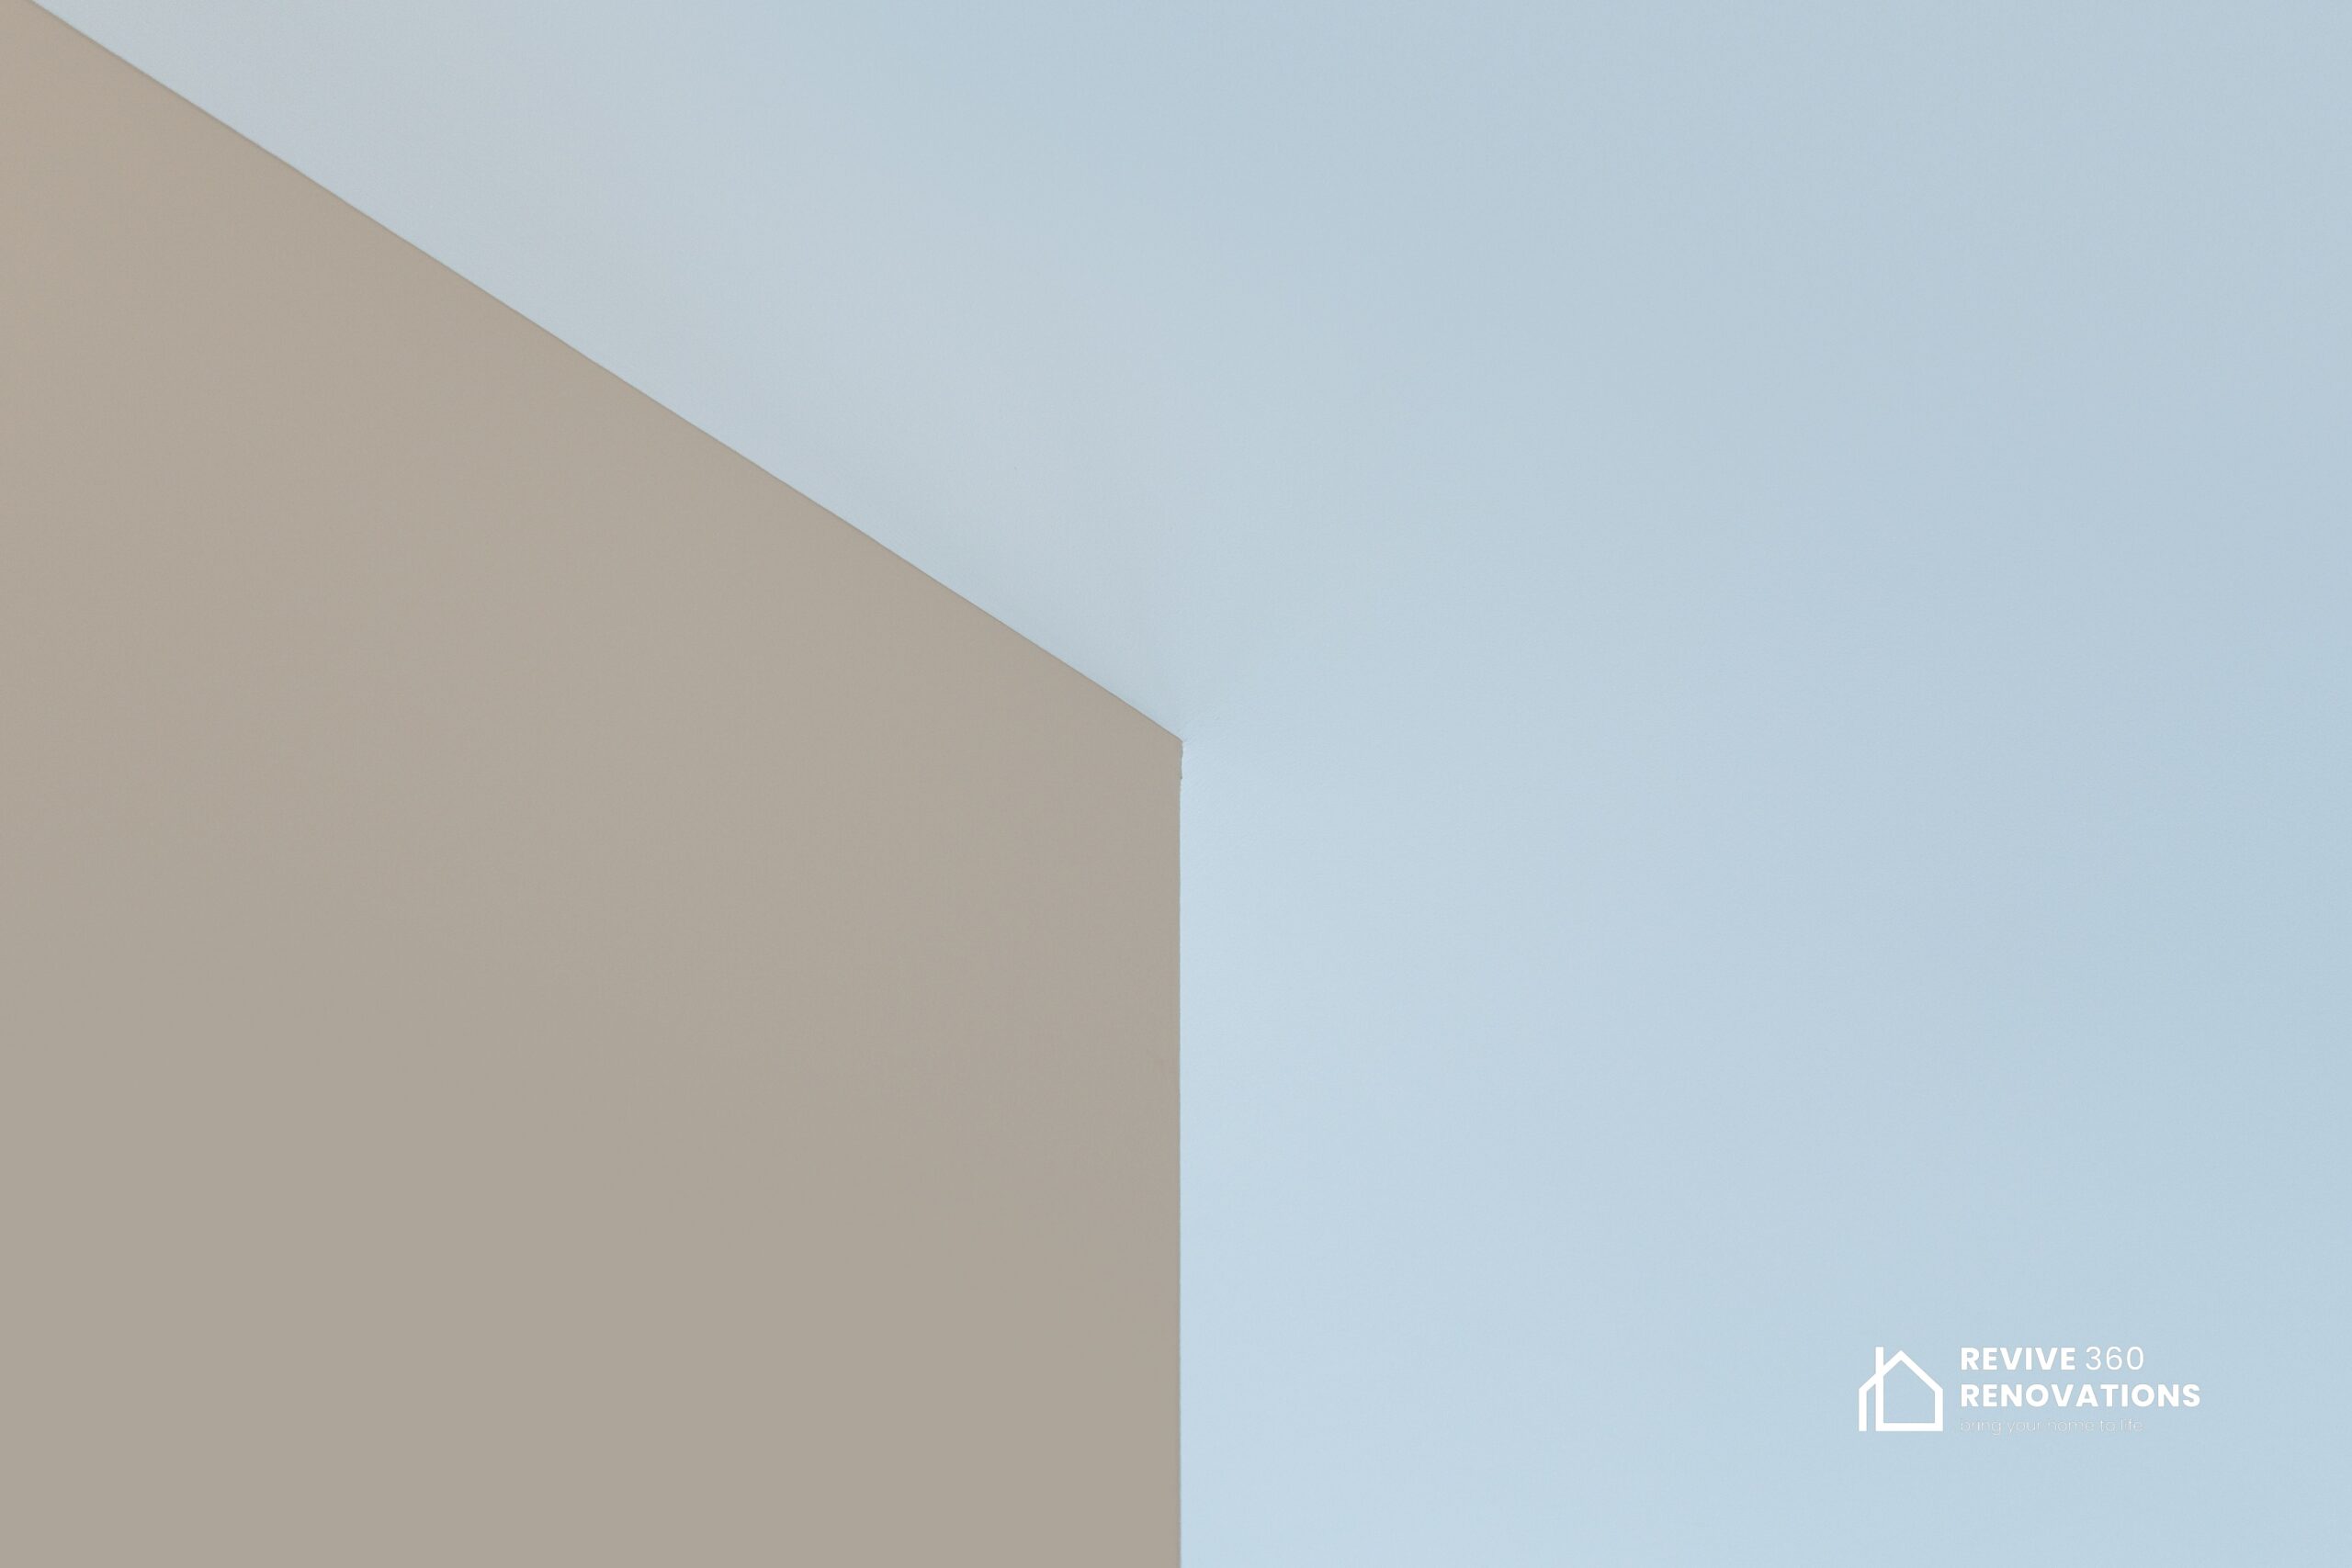
After we finish the removal, we apply two skim coats; the first coat is applied roughly just to cover any holes or gaps in the wall, and the second coat is applied with more care to make sure that everything is smooth, sleek, and nice.
Then, we sand the ceiling with very fine sandpaper to make sure that it’s perfectly smooth. We then apply a coat of primer and two coats of paint. Our popcorn ceiling applications are also very simple to do and totally customizable to your requests.
Wood & Furniture Painting
Questions? Answers.
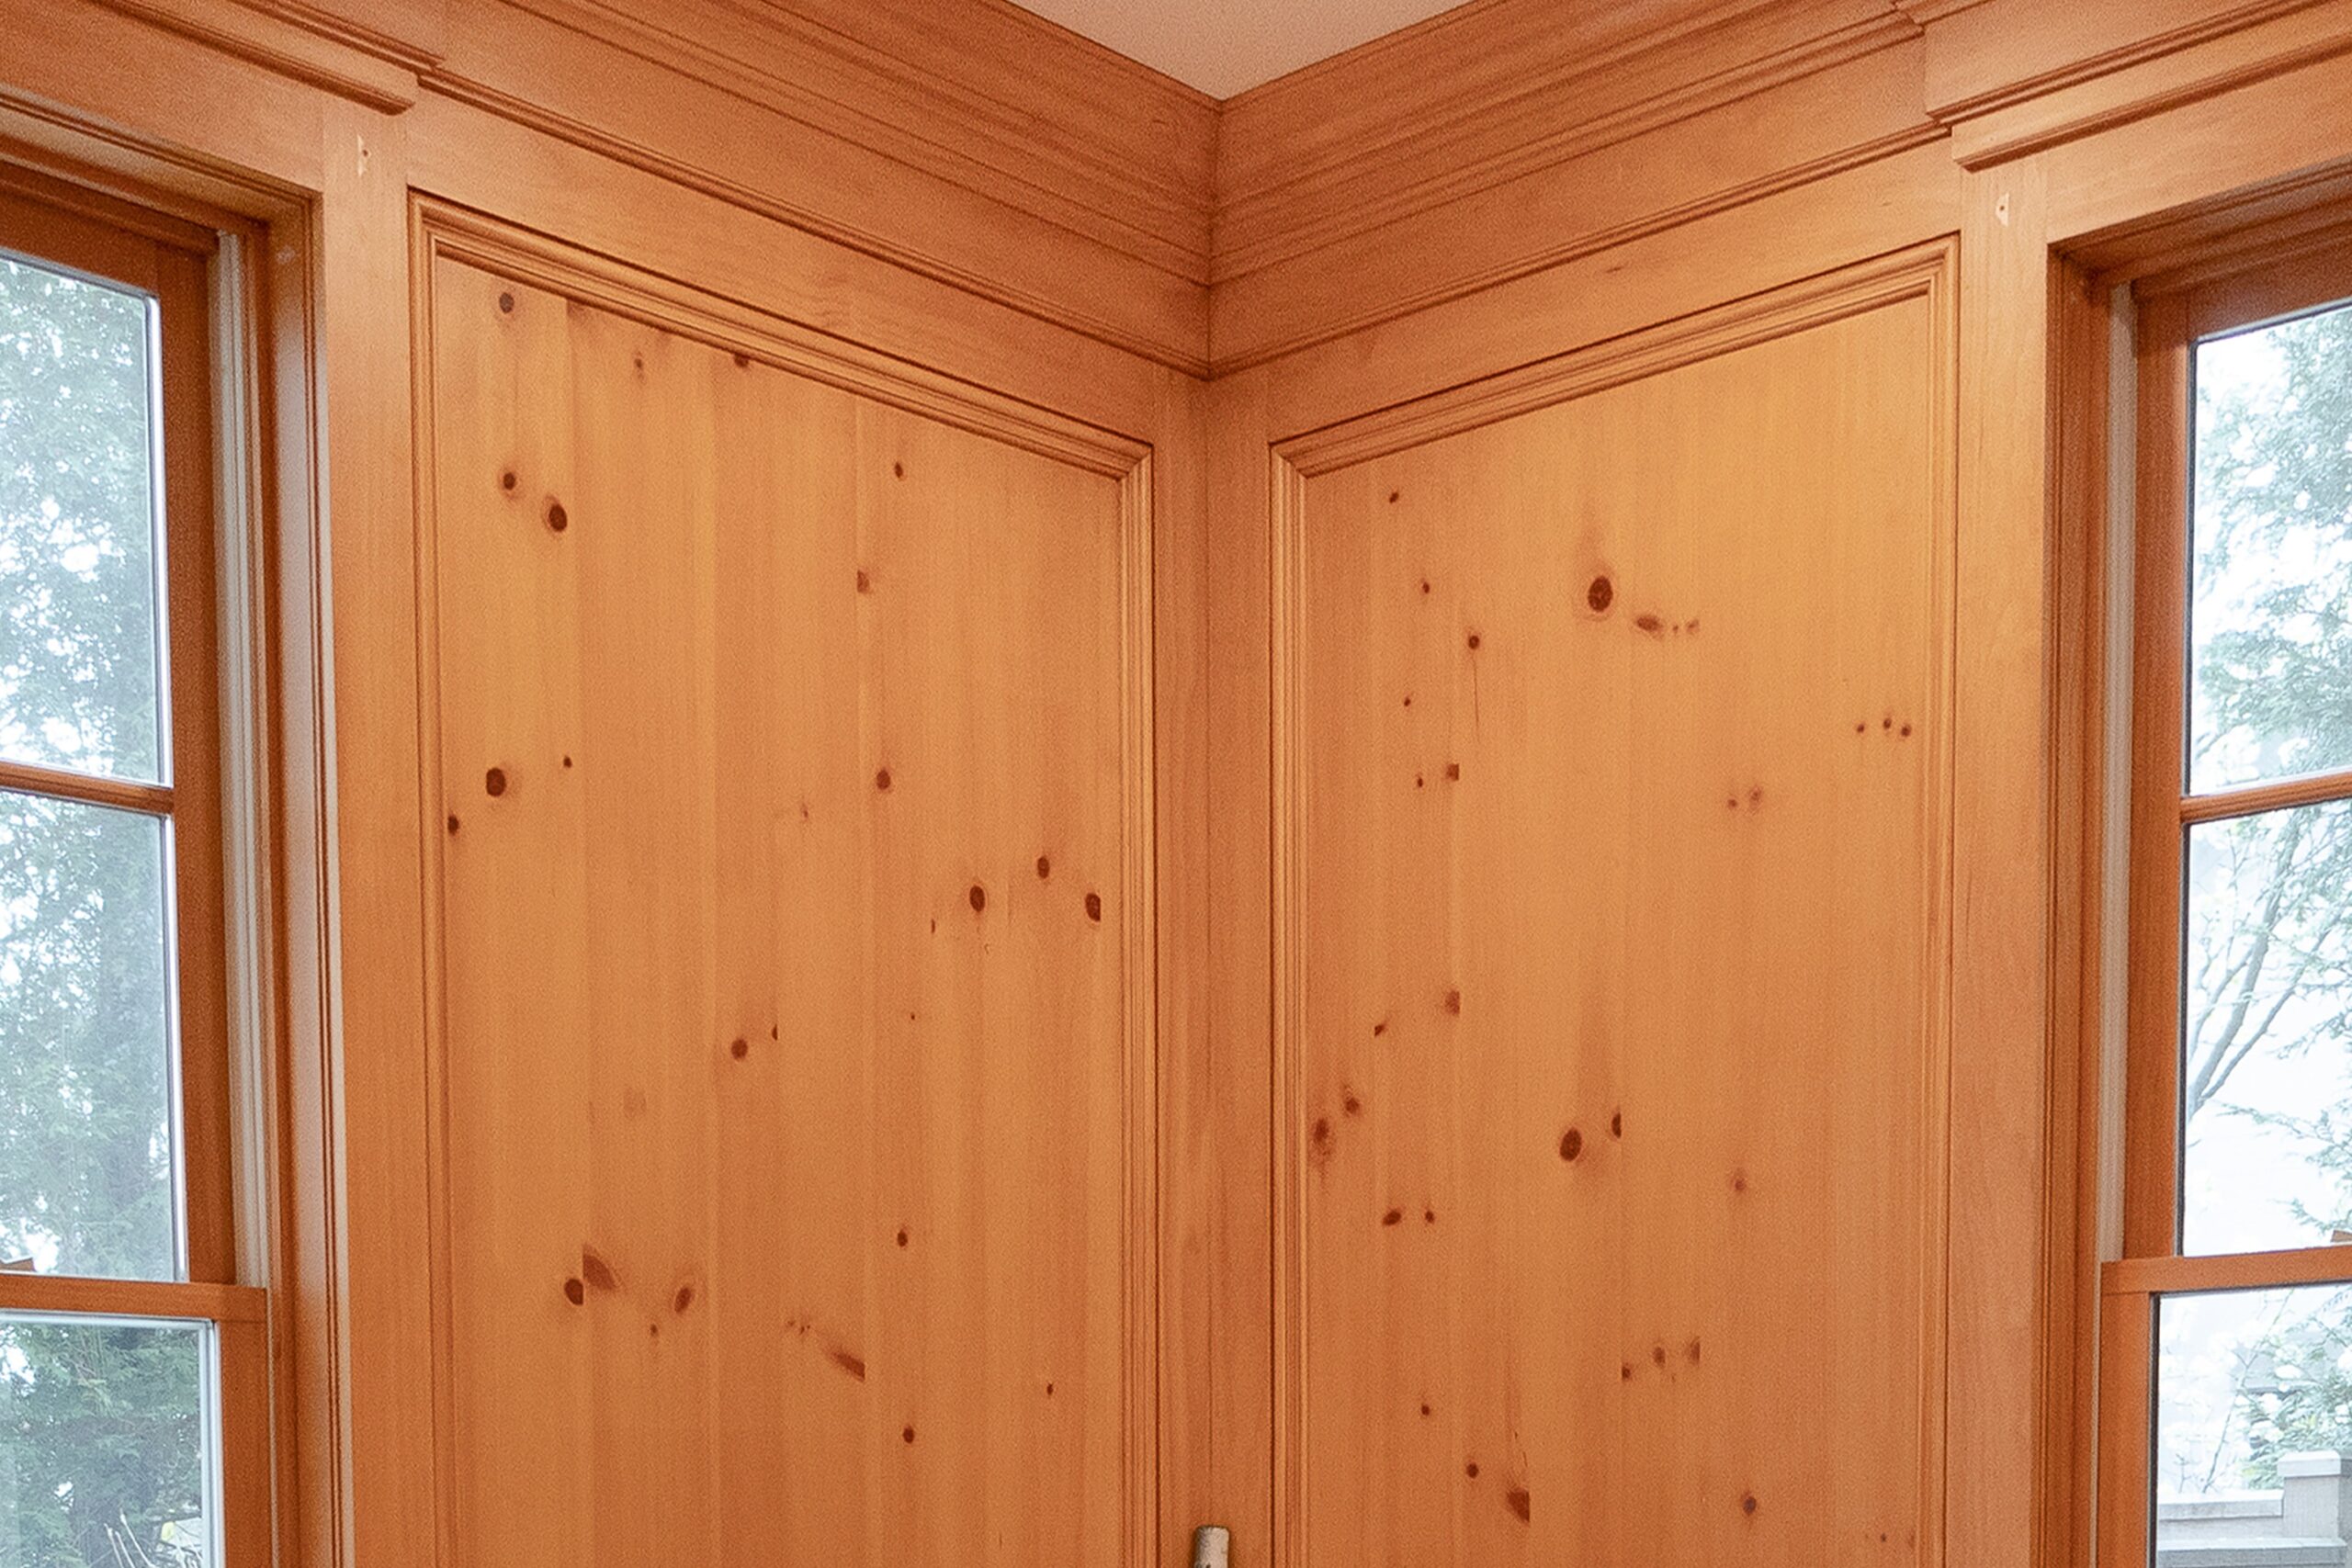
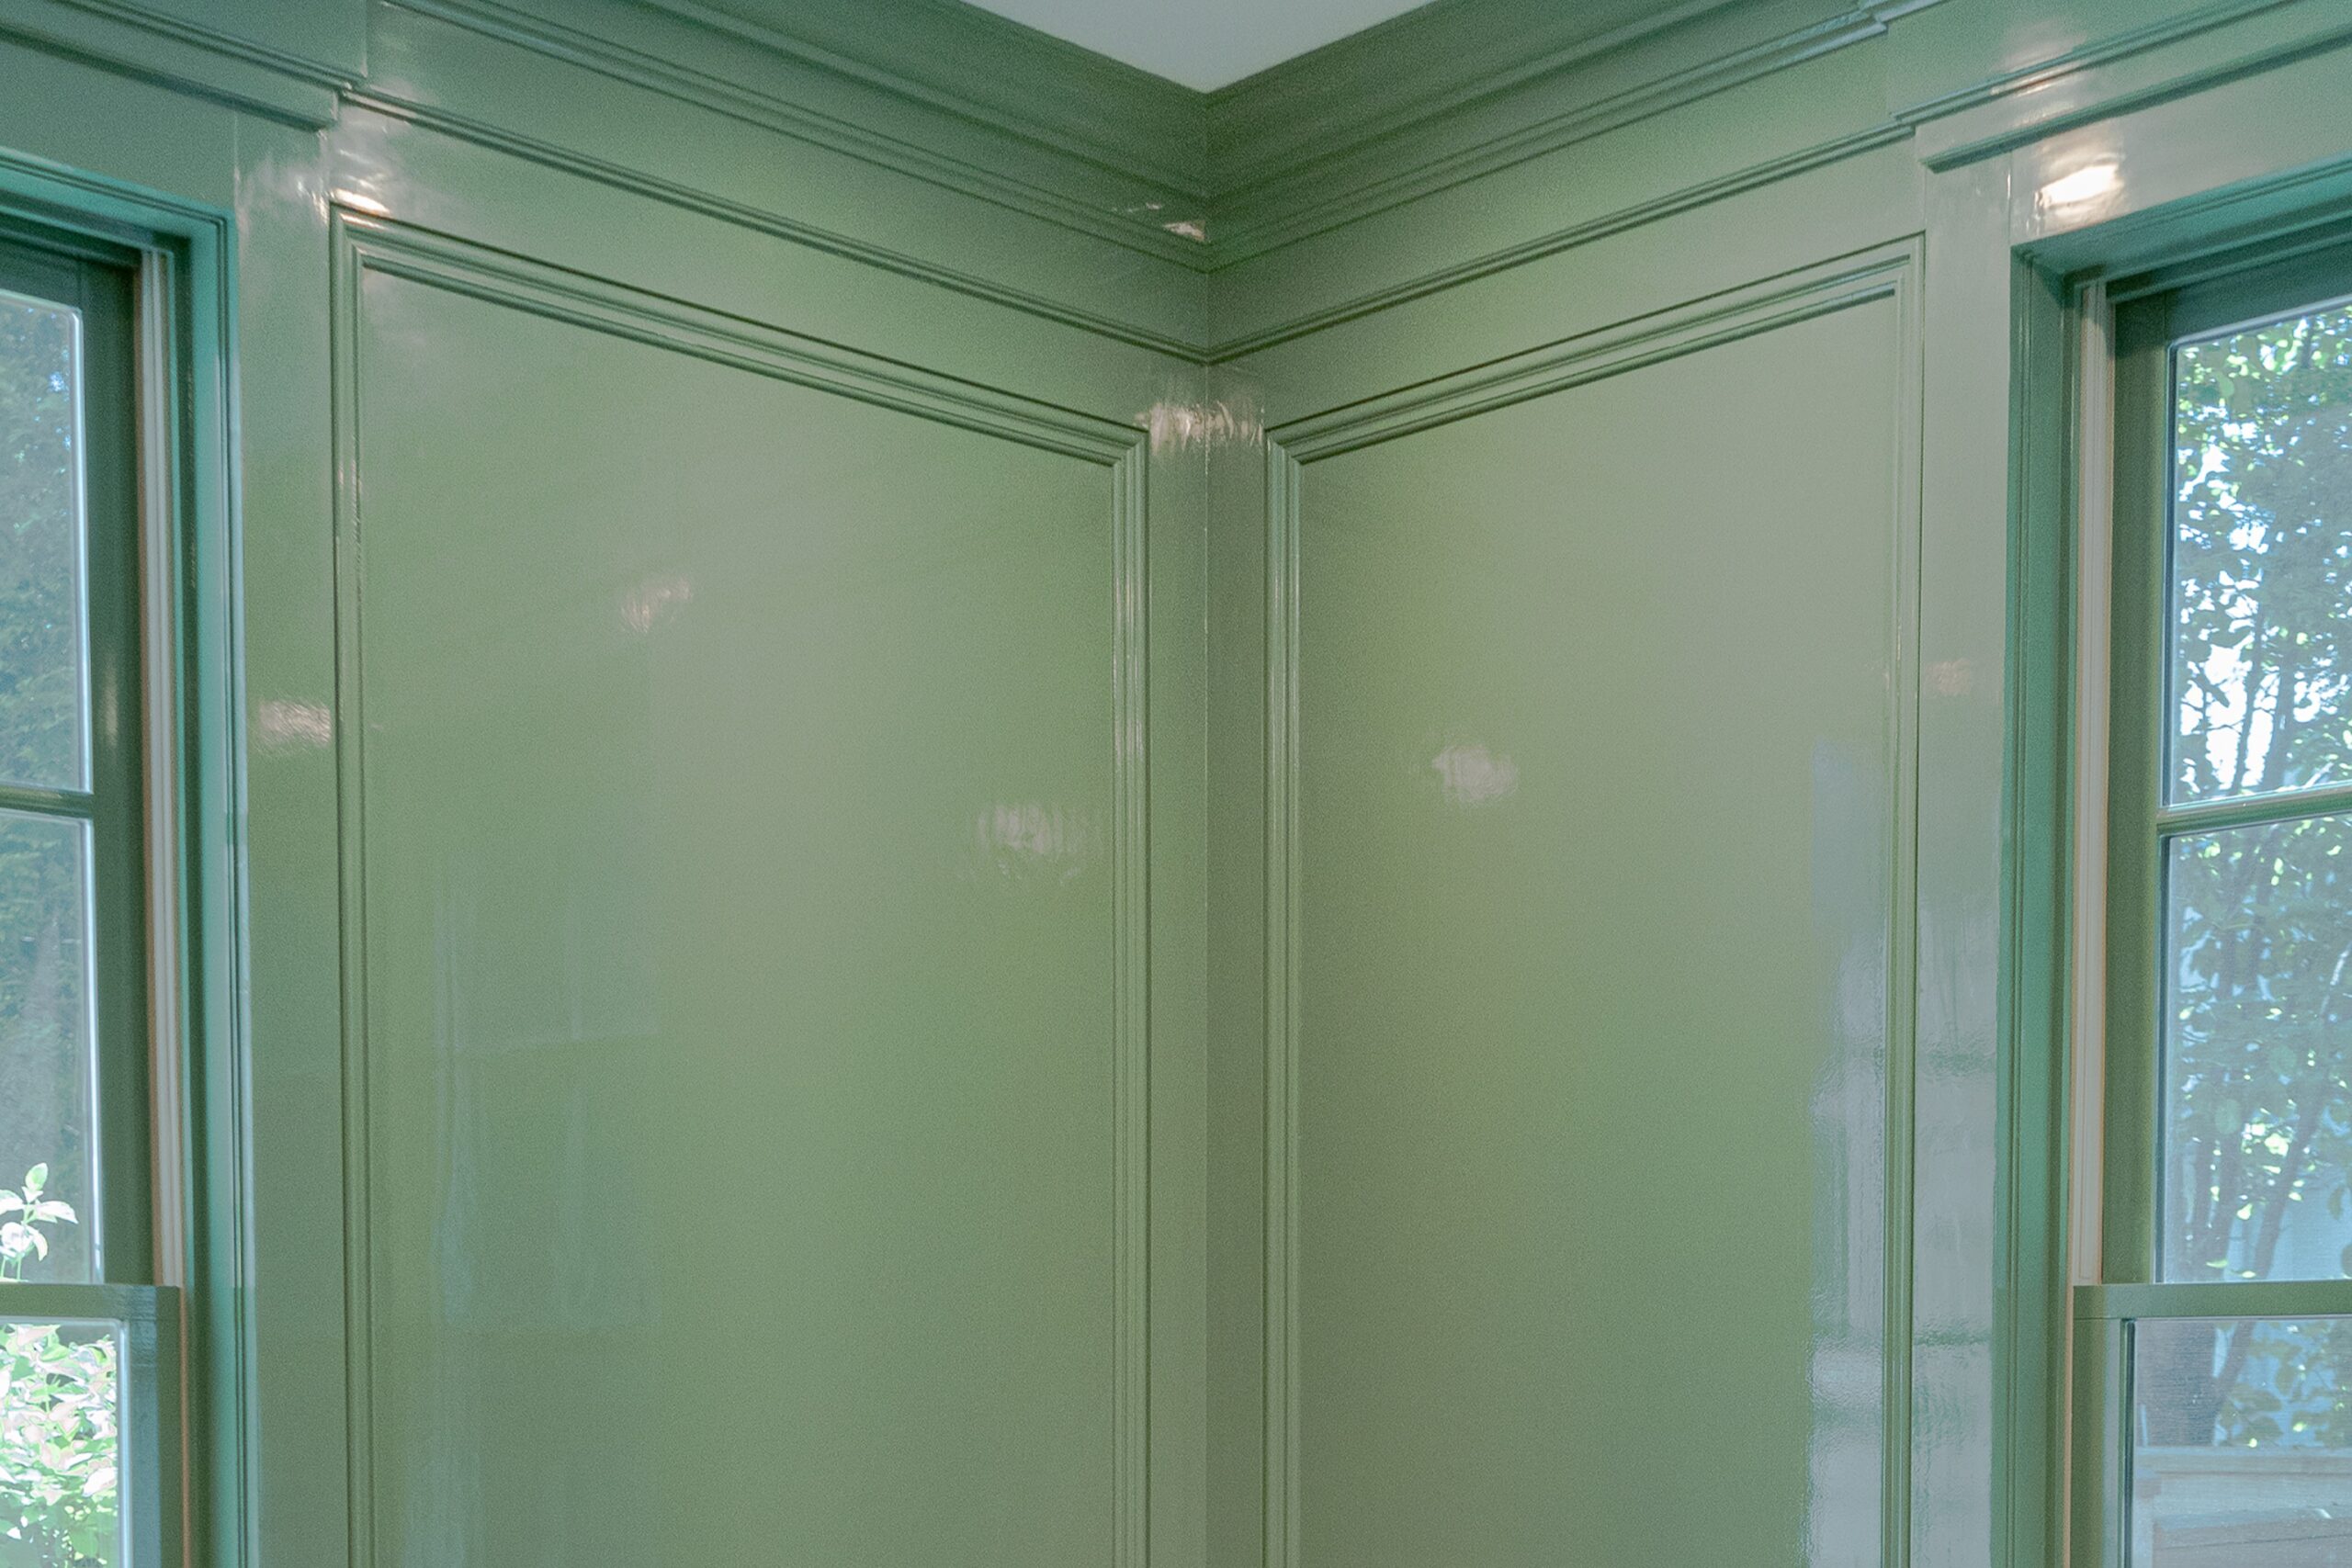
We can paint whatever wood furniture pieces that need to be painted. Whether you have a nightstand, tables, chairs, chest of drawers, wainscoting, or wood paneling that needs to be painted, we can do it all. It’s a great way to revitalize and restore your older furniture.
We always provide an estimated cost based on the dimensions of the piece, paint costs, any hardware modifications, and any labor costs. Of course, it can be difficult to tell exactly how much a job will cost until we actually start the work.
We always thoroughly inspect each piece brought to us. If we see any damages or need for repair, we will always let you know. Our goal is for you to have nice furniture that lasts you a long time.
The process begins with applying a full protective containment barrier to cover everything and prevent any damage or harm to the surrounding furniture. We remove each piece one by one, apply a degreasing agent, and then clean them.
Before the paint layer is done, we apply two coats of primer on the pieces, and then proceed with two layers of paint. During this step, we buff the surface of the wood. We also seal holes and fix any imperfections.
After assembling all the parts and putting the furniture back together, we clean everything.
For paint, we use Renner’s premium, water-based topcoat catalyst/hardener, which is extremely durable and long-lasting. We have a variety of different paints to work with, and we can do custom finishes to match your specific preference or taste.
